Pixellation in Excel VBA - storing your pictures cell by cell
To help me create the competition for our latest newsletter I've had to learn a bit about pixellation in VBA (picking out individual pixels
from pictures). It was such fun that I thought I'd share it!

Let's see what we can do with this iconic moment from the superb 2018 film
"A Star is Born".
One thing to watch out for: VBA doesn't support modern formats like
PNG, so you're best off sticking to GIF or JPG.
Two warnings before we begin
This macro finds where a picture is on screen, and loops over its pixels one
by one. If you change your screen while the macro is running, you'll get
effects like this:

You can see that I kept leaving this screen and going back to it while the macro was running.
Also, you're unlikely to get much out of this blog if you don't already know
some VBA. And with all those horrid warnings out of the way, let's get
started!
Getting started - adding a blank image
The first thing to do is to add your image as an ActiveX control, and to do
that you need a Developer tab on your ribbon.

If you have already got this tab, you can skip the next couple of instructions.
To get the Developer tab visible, right-click anywhere on the
ribbon and choose to customise it:
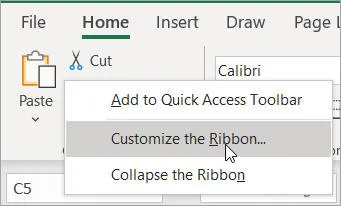
Right-click anywhere on your Excel ribbon to customise it.
Tick this box:
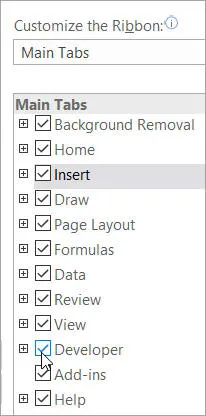
The tab was there all the time - you just couldn't see it!
The Developer tab allows you to write macros in VBA - and
also to insert ActiveX controls, which are just little widgets like pictures and
dropdowns which you can add to a spreadsheet.
Now choose to add an ActiveX image:
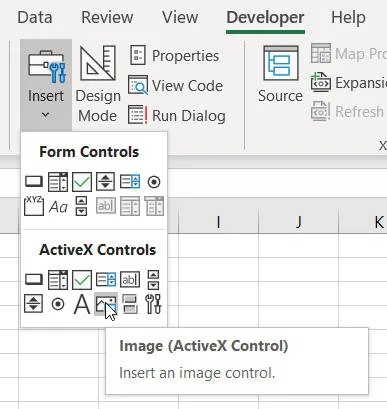
Choose this icon to add an image from the
Insert menu on the Developer tab.
Draw where you want your image to go:
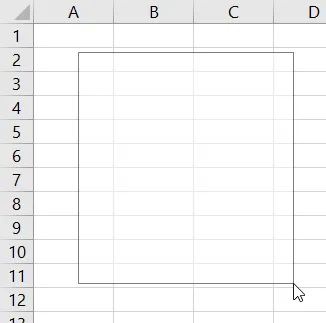
Draw the outline for your image.
Now to associate the image with a picture:
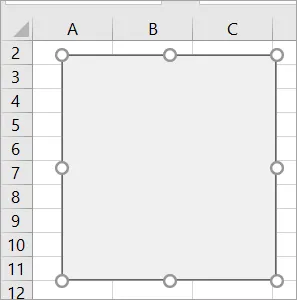
The image is a bit ... blank.
Attaching a picture to your image
Press Alt + F11
to toggle to VBA (you can use the same short-cut key to toggle back again), and
make sure you can see the Properties window:
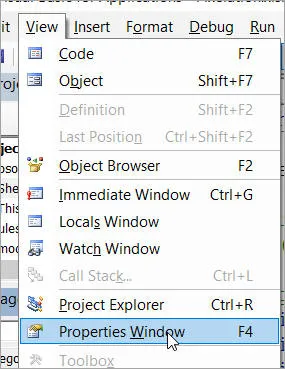
It'll probably already be visible, but just in case press F4 to check.
Go back into Excel and select your image control:
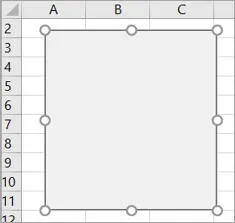
Make sure you've selected the image you just added.
Now go back into VBA and you'll be looking at the properties of the image.
Go to the Picture property, and click on the ...
symbol:
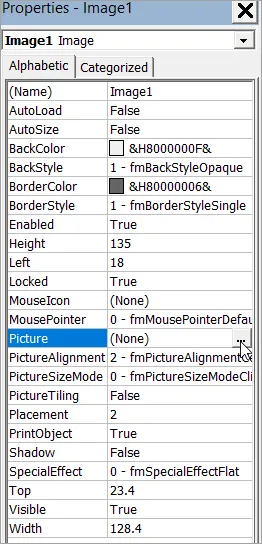
We want to assign our picture to the image control.
VBA will now display (bitmap) next to the image:

The sign of success ...
More importantly, back in Excel you'll see your image:
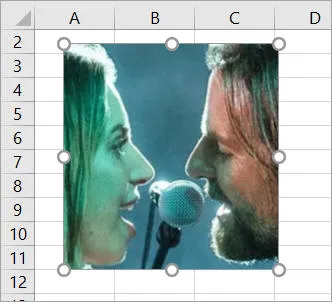
You could have changed the image name property in VBA too, but we're sticking with
Image1.
Creating and naming worksheets
Now create worksheets in your workbook to hold the red, green and blue part
of your pixels, and to hold your pixellated picture:

The
Sheet1 worksheet is the one containing your image.
Back in VBA, make sure these are named as follows:
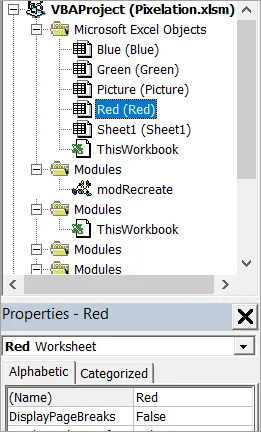
You can use the
Name property of a worksheet to give it an internal VBA name, making your macro easier to code.
The macro itself
Here's the code itself. I've added comments to the bits I understand
fully!
Option Explicit
Private Declare Function GetDC Lib "user32" (ByVal hwnd As Long) As Long
Private Declare Function ReleaseDC Lib "user32" (ByVal hwnd As Long, ByVal hdc As Long) As Long
Private Declare Function GetDeviceCaps Lib "gdi32" (ByVal hdc As Long, ByVal nIndex As Long) As Long
Private Declare Function GetPixel Lib "gdi32" (ByVal hdc As Long, ByVal X As Long, ByVal Y As Long) As Long
Private Type ImageBox
Left As Long
Top As Long
Right As Long
Bottom As Long
End Type
Dim IDC As Long
Dim OriginalRow As Integer
Dim OriginalColumn As Integer
Sub ScanImage()
Dim RC As ImageBox
Dim ScanX As Single
Dim ScanY As Single
Dim ImX As Single
Dim ImY As Single
Dim PixCol As Single
Call GetImageRect(RC)
ImX = RC.Left
ImY = RC.Top
IDC = GetDC(0)
Red.Cells.Clear
Blue.Cells.Clear
Green.Cells.Clear
Sheet1.Cells.Clear
Dim i As Integer
Dim j As Integer
OriginalRow = InputBox("Which row would you like to start drawing on?")
OriginalColumn = 1
j = OriginalRow
i = OriginalColumn
Sheet1.Select
Cells.EntireColumn.ColumnWidth = 0.63
Cells.EntireRow.RowHeight = 6
ActiveWindow.Zoom = 40
For ScanX = RC.Left To RC.Right
For ScanY = RC.Top To RC.Bottom
PixCol = GetPixel(IDC, ScanX, ScanY)
ColourCell Cells(j, i), PixCol
j = j + 1
Next
i = i + 1
j = OriginalRow
Next
IDC = ReleaseDC(0, IDC)
MsgBox "The picture has been created!"
End Sub
Private Function ScreenDPI(bVert As Boolean) As Long
Static lDPI&(1), lDC&
If lDPI(0) = 0 Then
lDC = GetDC(0)
lDPI(0) = GetDeviceCaps(lDC, 88&)
lDPI(1) = GetDeviceCaps(lDC, 90&)
lDC = ReleaseDC(0, lDC)
End If
ScreenDPI = lDPI(Abs(bVert))
End Function
Private Function PTtoPX(Points As Single, bVert As Boolean) As Long
PTtoPX = Points * ScreenDPI(bVert) / 72
End Function
Sub GetImageRect(ByRef RC As ImageBox)
Dim RNG As Range
Set RNG = Sheet1.Range("A1")
Dim wnd As Window
Set wnd = RNG.Parent.Parent.Windows(1)
With Sheet1.Image1
RC.Left = PTtoPX(.Left * wnd.Zoom / 100, 0) + wnd.PointsToScreenPixelsX(0)
RC.Top = PTtoPX(.Top * wnd.Zoom / 100, 1) + wnd.PointsToScreenPixelsY(0)
RC.Right = PTtoPX(.Width * wnd.Zoom / 100, 0) + RC.Left
RC.Bottom = PTtoPX(.Height * wnd.Zoom / 100, 1) + RC.Top
End With
End Sub
Sub ColourCell(c As Range, ThisColour As Single)
Dim RedValue As Byte
Dim GreenValue As Byte
Dim BlueValue As Byte
RedValue = ThisColour And &HFF&
GreenValue = (ThisColour And &HFF00&) / 256
BlueValue = (ThisColour And &HFF0000) / 65535
c.Interior.Color = RGB(RedValue, GreenValue, BlueValue)
Dim r As Integer
Dim col As Integer
r = c.Row - OriginalRow + 1
col = c.Column - OriginalColumn + 1
Red.Cells(r, col).Value = RedValue
Green.Cells(r, col).Value = GreenValue
Blue.Cells(r, col).Value = BlueValue
End Sub
Running your macro
Before running your macro, it might be an idea to comment back in this line:
Without this it can be a tedious wait for the macro to finish before you can
solve any problems.
I'd also strongly recommend saving your changes before testing the macro out
for the first time.
If you now click on Sheet1 and run your macro, you should
see something like this:
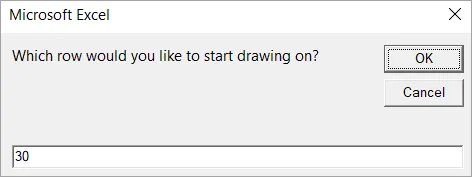
Type in a big enough row number so that the drawn picture is separate from the initial one.
The macro should now start doing its stuff!

Resist the temptation to click away - doing so will ruin your drawing!
Eureka!

Time now to play around with it, perhaps?
Experimenting with the colour numbers
You should now be able to build your very own image processor in VBA.
Here's a macro which will take the RGB numbers and recombine them to recreate
the picture on a new sheet:
Option Explicit
Sub Recreate()
Dim reds As Range
Dim blues As Range
Dim greens As Range
Const factor As Integer = 4
Set reds = Red.Range("A1").CurrentRegion
Set blues = Blue.Range("A1").CurrentRegion
Set greens = Green.Range("A1").CurrentRegion
Worksheets.Add
Cells.EntireColumn.ColumnWidth = 0.63 * 4
Cells.EntireRow.RowHeight = 6 * 4
ActiveWindow.Zoom = 40
Dim c As Range
For Each c In reds
Cells(c.Row, c.Column).Interior.Color = RGB( _
c.Value, _
Green.Cells(c.Row, c.Column), _
blues.Cells(c.Row, c.Column))
Next c
End Sub
Here are some of my efforts!
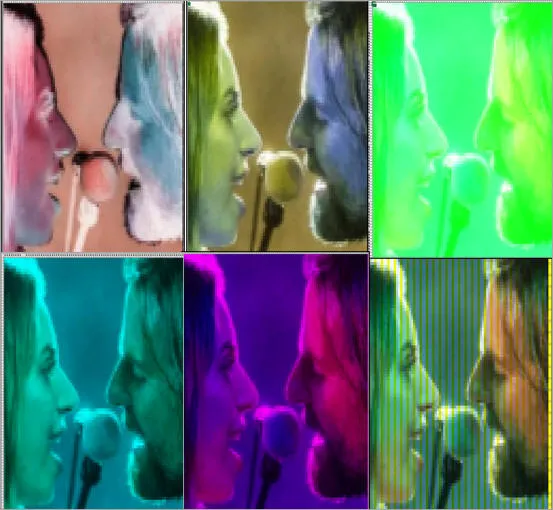
These are a bit shallow - see if you can do better.
If you get a "Too many cell formats" message, delete the extra worksheets
that you've created, save and close your file then open it up again.
Experimenting with the image itself
So I had finished and published this blog, and then suddenly realised that
you can start manipulating the image itself. For example:
Sub MoveAbout()
Dim r As Range
Dim c As Range
Dim temp
Set r = Range("A30:CH119")
For Each c In r
If c.Column Mod 2 = 1 Then
temp = c.Interior.ColorIndex
c.Interior.ColorIndex = c.Offset(0, 1).Interior.ColorIndex
c.Offset(0, 1).Interior.ColorIndex = temp
End If
Next c
End Sub
Here's what this produces:
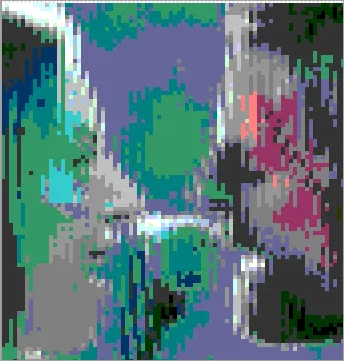
Ally is only just recognisable now.
You could white out every other row/column:
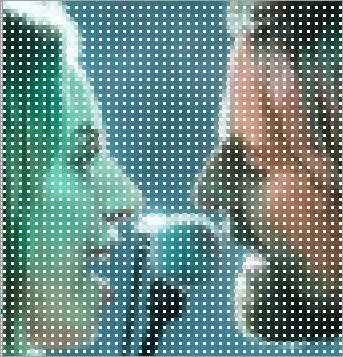
A variation on the first macro.
I could spend days doing this!


