Read our blogs, tips and tutorials
Try our exercises or test your skills
Watch our tutorial videos or shorts
Take a self-paced course
Read our recent newsletters
License our courseware
Book expert consultancy
Buy our publications
Get help in using our site
551 attributed reviews in the last 3 years
Refreshingly small course sizes
Outstandingly good courseware
Whizzy online classrooms
Wise Owl trainers only (no freelancers)
Almost no cancellations
We have genuine integrity
We invoice after training
Review 30+ years of Wise Owl
View our top 100 clients
Search our website
We also send out useful tips in a monthly email newsletter ...
Creating surveys and quizzes in Microsoft Forms Part two of a three-part series of blogs |
---|
Microsoft Forms is a joy to use! This blog will show you how to create and distribute a survey or quiz, and the type of whizzy features that you can build into it.
|
In this blog
Having seen what Forms can do, how do you actually use it? Follow the instructions under separate headings below to find out!
To create a form you have to have a Microsoft account, and log on to the cloud-based Microsoft Forms service. You can then create a form:
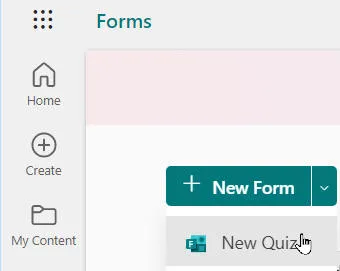
Click on the button to create a form, or the drop down if you want the option of creating a quiz.
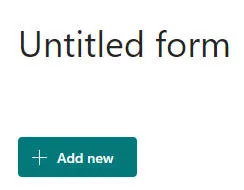
Click on the words Untitled form to add a title and subtitle, and you're away!
You're now getting a good impression of how easy everything is going to be to do!
I haven't covered quizzes separately here, but they're just the same as forms with one difference: you can assign points to each answer.
Adding questions is childishly simple:
Click on this button to add a question.
You can then choose the type of question:
See the previous part of this blog for what each type of question looks like.
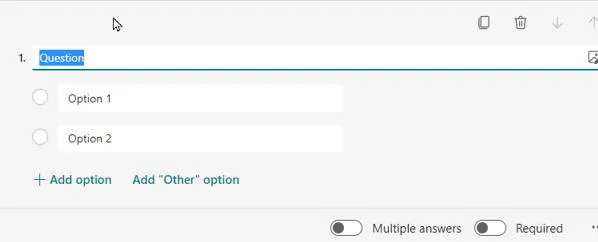
Whichever type of question you choose, it's really obvious how to proceed:
This is a Choice question, for example: it's pretty obvious how to add and edit options!
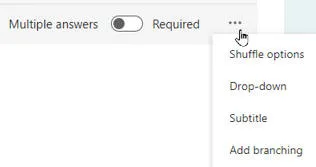
You can often click on the 3 dots at the bottom right of a question to choose specific options:
For a Choice question, for example, you can choose to shuffle the options for each survey or to present them as a dropdown.
Click on any question to delete or move it:
I honestly think these icons tell the whole story!
You can add a section in the same way as you add a question (see the example survey in the previous part of this blog for what a section looks like):
Sections divide questions up into different parts.
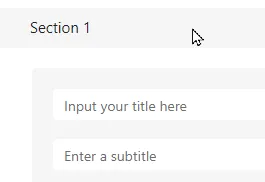
Having added a section, you can set a title or subtitle for it:
The title and subtitle should explain the contents of the section.
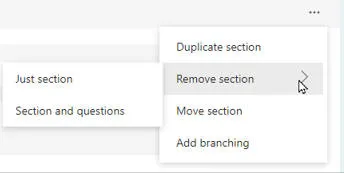
You can remove any section in two ways:
Click on the 3 dots at the top right of the section, and choose when you remove it whether you want to keep its questions or not.
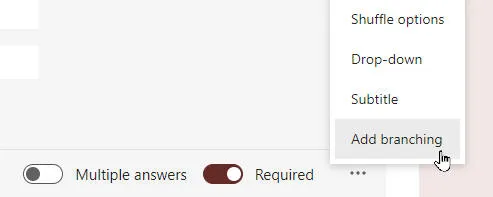
You can add branching to any question, although it makes most sense for Choice ones:
Click on the 3 dots at the bottom right of any question to add branching to it.
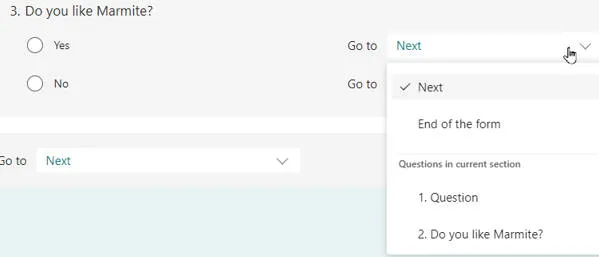
After adding branching to a question, you can choose which questions to branch to:
You can choose to go to different questions or sections in your quiz for each answer given.
One of the very few things which isn't completely intuitive in Forms is how to exit branching:
Once you've finished setting branching options, click on this Back button to return to normal editing.
You won't be able to make any editing changes to your survey until you do this - this can be a bit confusing.
To add an image to a form, section or question, click on this symbol:
Where this appears you can click on it to add an image.
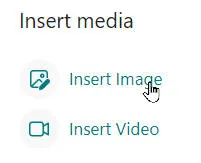
Choose what you want to add:
Presumably you could embed videos in quizzes to test people's knowledge of something?
You can get images from the Internet (by searching for them), from OneDrive or by uploading them from your computer:
I tend to upload images I've saved on my computer.
To delete any image, click on it and then click on the dustbin tool:
Click as shown to delete this Twilight Saga image (if only it were that simple ...).
Like so much else in Forms, themes are basic, but functional (which IMHO is all that you could ask of software):
Click here to set a theme for your survey.
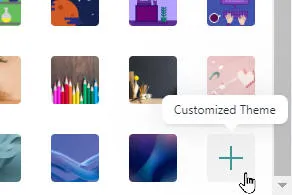
If you don't want one of the standard themes (and you probably won't), scroll down and choose to add one:
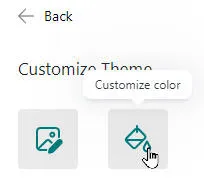
Click on this button to add a theme to your survey.
You can now choose to add either a background image (the left icon) or - as here - a background colour:
After choosing to set a background colour, you'll need to know its hex code to be able to type it in.
To see what your survey will look like to the world, preview it:
Click on the Preview button to see what your final survey will look like.
Remember to exit preview when you want to go back to editing your survey:
Click on this button at the top left of your survey to return to edit mode.
Having created your form it's time to send it out into the world and collect the responses, which is the subject of the last part of this blog.
Parts of this blog |
---|
|
Kingsmoor House
Railway Street
GLOSSOP
SK13 2AA
Landmark Offices
99 Bishopsgate
LONDON
EC2M 3XD
Holiday Inn
25 Aytoun Street
MANCHESTER
M1 3AE
© Wise Owl Business Solutions Ltd 2024. All Rights Reserved.