Read our blogs, tips and tutorials
Try our exercises or test your skills
Watch our tutorial videos or shorts
Take a self-paced course
Read our recent newsletters
License our courseware
Book expert consultancy
Buy our publications
Get help in using our site
551 attributed reviews in the last 3 years
Refreshingly small course sizes
Outstandingly good courseware
Whizzy online classrooms
Wise Owl trainers only (no freelancers)
Almost no cancellations
We have genuine integrity
We invoice after training
Review 30+ years of Wise Owl
View our top 100 clients
Search our website
We also send out useful tips in a monthly email newsletter ...
The Offset property of a range allows you to refer to another cell that is a number of rows and columns away from the original one. You'll find this property useful for moving vertically in a column of data or horizontally in a row. In this part of the lesson you'll learn the basics of moving around using the Offset property.
You can click here to download the file needed for this page.
You can click here to download a file containing the sample code.
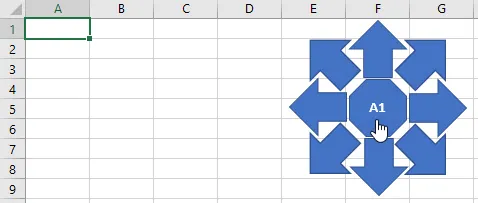
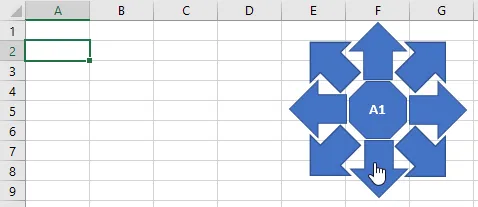
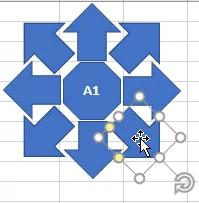
Extract and open the file linked to in the Files Needed section above. You'll find a worksheet containing a number of shapes:
You can click the middle shape to select cell A1.
We'd like to create a separate subroutine for each of the arrow shapes so that clicking an arrow will move to a new cell in the appropriate direction.
In the VBE, use the existing module to create a new subroutine called Move_Down:
This subroutine will contain a single instruction which will move one cell down from the currently selected cell.
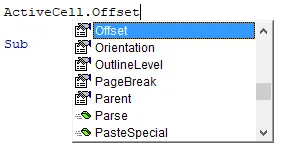
Add an instruction which refers to the ActiveCell and applies the Offset property to it:
Offset is a property of a range object.
The Offset property has two parameters which allow you to specify the number of rows and columns you'd like to move. In this example we'd like to move one row and zero columns:
Set the RowOffset parameter to 1 and the ColumnOffset to 0.
The Offset property returns a reference to another range. If you want to move to this cell you'll need to apply the Select method to the range returned by the Offset property:
Apply the Select method to move to the specified range.
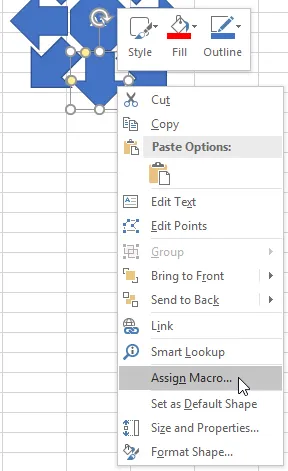
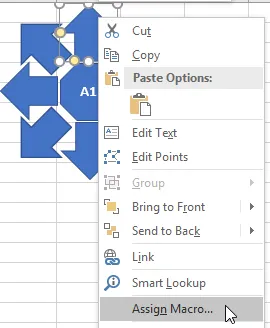
In the Excel window, right-click on the down arrow shape and choose to assign a macro to it:
Right-click the shape and choose Assign Macro...
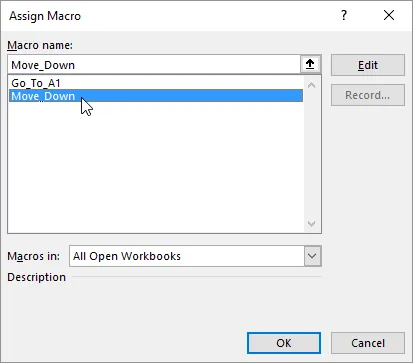
In the dialog box which appears, choose the Move_Down subroutine you have written:
Double-click the name of the subroutine to assign it to the shape.
Select cell A1 on the worksheet and then try clicking on the down arrow shape:
After clicking the arrow once you will have moved down one row.
You can continue clicking the button and moving down one cell each time you do so.
To move upwards you can enter a negative number for the RowOffset parameter of the Offset property. Create a new subroutine which will move upwards one cell:
We want to move upwards by one cell, so enter -1 for the RowOffset parameter.
Assign your new subroutine to the up arrow shape in the worksheet:
Assign the subroutine to the up arrow shape.
Select any cell in row 3 of the worksheet:
Here we've selected A3.
Now click the the up arrow shape twice to move up to row 1:
Move up to row 1 in the worksheet.
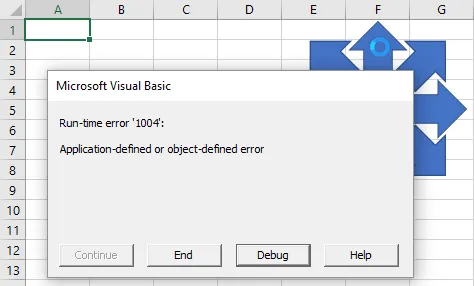
Take care not to try to move beyond the edge of the worksheet. If you attempt to move above row 1 you'll receive a run-time error:
This is the error message you'll see if you attempt to move past the edge of the worksheet.
You can use the ColumnOffset parameter of the Offset property to move left and right on the worksheet. Create a new subroutine to move one cell to the right:
Set the RowOffset to 0 and the ColumnOffset to 1 to move one cell to the right.
You can pass a negative number to the ColumnOffset parameter to move to the left. Create a new subroutine which will move one cell to the left:
Set the ColumnOffset to -1.
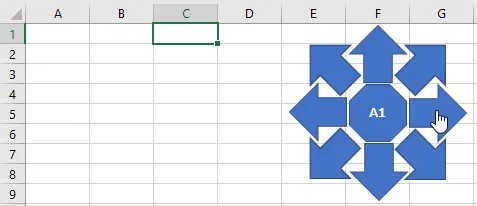
Assign the two new subroutines to the appropriate arrow shapes and test that they work. Take care not to move past the left hand edge of the worksheet!
We started in cell A1 and clicked the right arrow twice to reach cell C1.
You can pass a number to both the RowOffset and ColumnOffset parameters to move vertically and horizontally in the same instruction. Create a new subroutine to move one row down and one column to the right:
Set both the RowOffset and ColumnOffset parameters to 1 to move down and right.
Assign this new subroutine to the appropriate arrow shape on the worksheet:
Assign the subroutine to the arrow shown here.
Test that your code works by clicking the arrow shape:
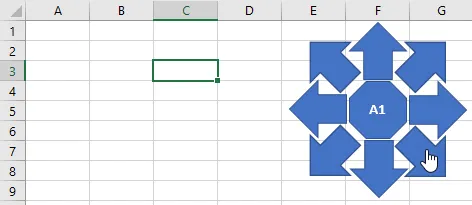
Starting in cell A1 we've clicked the arrow twice to move to the cell shown.
To practise using the Offset property to move around a worksheet:
Sub Move_Up_And_Right()
ActiveCell.Offset(-1, 1).Select
End Sub
Sub Move_Down_And_Left()
ActiveCell.Offset(1, -1).Select
End Sub
Sub Move_Up_And_Left()
ActiveCell.Offset(-1, -1).Select
End Sub
Kingsmoor House
Railway Street
GLOSSOP
SK13 2AA
Landmark Offices
99 Bishopsgate
LONDON
EC2M 3XD
Holiday Inn
25 Aytoun Street
MANCHESTER
M1 3AE
© Wise Owl Business Solutions Ltd 2024. All Rights Reserved.